Stylish 45th Birthday Party


One of our dear friends just turned 45. This hot ladie in this cute dress is Angie... 


Well, we celebrated her birthday in his restaurant at Coral Gables, Florida. She's the kind of person whose house is truly a home, who will cook you the best food EVER, and that's why she is the Chef at this awesome place. She will turn just about any old party into a tequila dance fest. We are so lucky to know her and to call her friend. And If you knew her, you'd be lucky too.


So what to do, when someone fabulous like this turns 45? This hardly was up to par but we wanted to share anyway.


A photobooth :)


The cake wasn't it fabulous??


and the jelly


to make a wish upon a star and say something to the birthday girl…


Do you need another good excuse to drink that bottle of wine? Well good news, we’ve got just the thing! *wink*   these lovely Wine Bottle Floral Arrangements
 make such lovely decor for this Birthday

The flowers are just popping out of the bottle... and the cork it's still in the "air". Some burlap.. A metal tag and voila... Style :)


The food something nice and delicious.. Sushi!! 


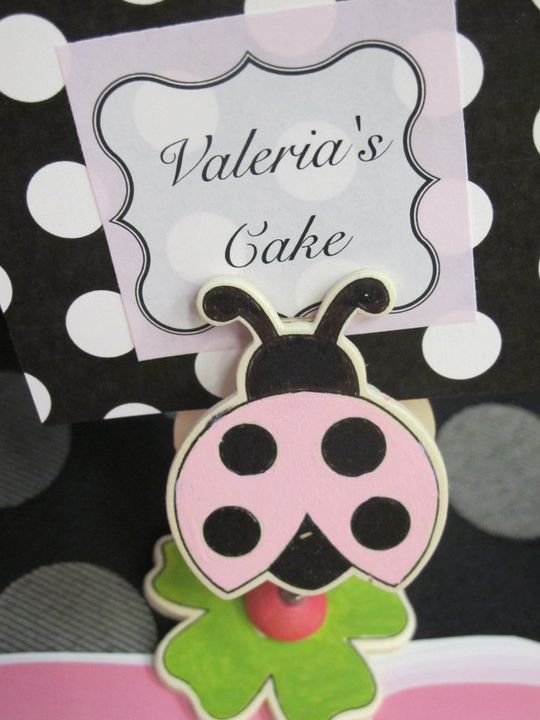
A message with cookies. We loved details like this


This is how you do 45 in style!!! This lovely birthday was designed by IPS Event Planners  and held at Local Restaurant (Angie's World Cuisine in Coral Gables, Miami). It just goes to show that you can still bring personality and charm into a commercial space. Happy Birthday Miss....


Credits:
Design IPS Event Planners
Cake: Jackie's Cakes
Food: Jackie's

A ladybug Birthday Party

I'm so excited to share this adorable party with you! I just styled a ladybug party for my little princess Valeria to celebrate her 3rd birthday. We did the party at the Miami's Children Museum. 
 The invitations turned out adorable ! And a birthday party just wouldn't be a party without matching stuff right?

I made a welcome sign to match the invitation...

The birthday girl wore an adorable ladybug  tank top specially made for her and the adorable tutu,  


Her outfit was a gift from my very, very good friend Aida… Out of this world my friend.. Just love it… So cute! Thanks!!


Yummy ladybug cupcakes were made by using my special recipe and decorated with fondant toppers… Ridiculously beautiful, 


Also I placed them on a ladybug cupcake holder with a candle for each kid… Isn't it every kid's dream to blow a candle in someone else's party??? Clever right?


Some pink candy, black licorice and chocolates were perfect for this ladybug theme… especially in a jar with ribbons

I made marshmallows pops, and chocolate sprinkles…  also chocolate covered pretzels

And the ladybug's and flowers with ladybug cookies they turned out fabulous!! 

and this cookies were just super cute…. 


and the ladybug coasters?


Some shots of the decor …


Custom bags for the desserts…


and more shots just because.. ;)


Lots of fun was had by all, with all the activities in the museum, delicious food & desserts!


Happy Birthday to my sweet little girl, Valeria!
Love, Mommy


Credits:
Design: IPS Event Planners
Invitations and all printables: SpareTime Designs
Candy: Ohnuts
Party Supplies: Michaels, Joan Stores, Target

HAPPY BIRTHDAY VALERIA

Three years ago today my life changed… again… I had my lil' princess and I became a Mom for second time. 


I have no words to express my emotions for that   August 14, 2008. I am by no means a perfect Mom, that is not possible, but I know why I was given the gift of children, to make me a better person. So Valeria, I thank you for being a beautiful girl, you teach me everyday. Happy Birthday Valeria! My cute little ladybug  I look forward to many more years of us teaching each other. I celebrate you everyday….living each day like it is your birthday. 


Get ready because there will be a lot of  shoots to come and they’re only going to get better. I’ve already started celebrating her birthday.

DIY Paper Pumpkins


When I saw this tutorial from Whiperberry, I absolutely love this…. and I think.. another project to add to my list…
You will need some pretty paper, Mod Podge, hot glue gun, wire cutter and wire pliers, floral wire… then  throw on some good twist music and you have your paper pumpkins!


Cut coordinating papers into one inch strips. In this one is Basic Grey Paper Pack in Capella. Dip a strip into Mod Podge to cover completely, and remove excess. Twist the piece into a tight stick, taking care not to rip the paper, or leave it hollow. Place onto non stick surface to dry. Repeat with more paper strips.
When mostly dry (as early as 20 minutes) bend each paper stick into a “C” shape and hot glue onto the stem starting about an inch down from the top, and ending by slightly overlapping the bottom. Attach paper strips one by one, shaping them as you go. Eventually the paper sticks will completely cover the bottom of the stem, and accumulate several layers to add dimension to the project. Continue until your pumpkin is the size and shape you want.
Cut paper into very thin strips (about in.) and cover with Mod Podge. Wind paper around floral wire to fully cover, and allow to dry. Use round nose pliers to bend into tendrils. You can also coil the wire around a pencil, but I find this to make the curls a bit too perfect. I like to keep things a little messy and inconsistent. Glue the tendrils close to the stem, and arrange them as you wish.


If you make it.. Have fun but not forget to wrap your phone and tv remote before beginning… and wear latex gloves :)

A perfect "pair" cake topper

I was browsing the internet looking for a differents cake toppers (for a very special bride) and I found this... Aren't these ridiculously cute?? I just love it