HAPPY BIRTHDAY VALERIA

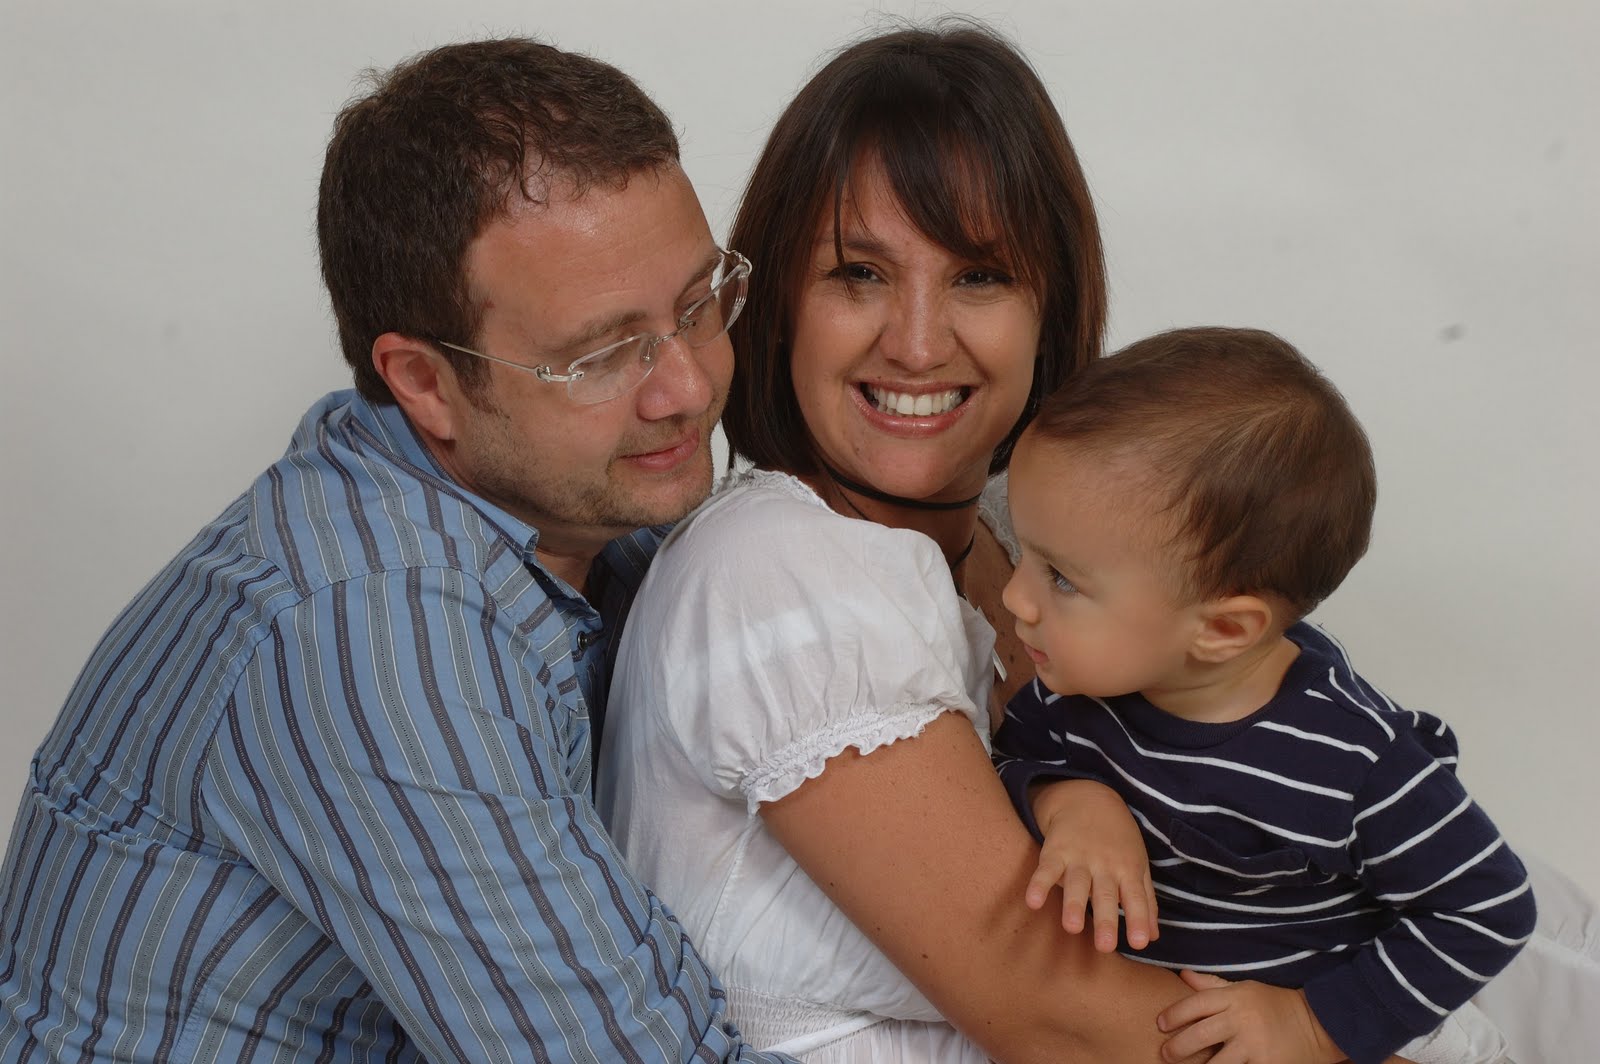
Three years ago today my life changed… again… I had my lil' princess and I became a Mom for second time. 


I have no words to express my emotions for that   August 14, 2008. I am by no means a perfect Mom, that is not possible, but I know why I was given the gift of children, to make me a better person. So Valeria, I thank you for being a beautiful girl, you teach me everyday. Happy Birthday Valeria! My cute little ladybug  I look forward to many more years of us teaching each other. I celebrate you everyday….living each day like it is your birthday. 


Get ready because there will be a lot of  shoots to come and they’re only going to get better. I’ve already started celebrating her birthday.

DIY Paper Pumpkins


When I saw this tutorial from Whiperberry, I absolutely love this…. and I think.. another project to add to my list…
You will need some pretty paper, Mod Podge, hot glue gun, wire cutter and wire pliers, floral wire… then  throw on some good twist music and you have your paper pumpkins!


Cut coordinating papers into one inch strips. In this one is Basic Grey Paper Pack in Capella. Dip a strip into Mod Podge to cover completely, and remove excess. Twist the piece into a tight stick, taking care not to rip the paper, or leave it hollow. Place onto non stick surface to dry. Repeat with more paper strips.
When mostly dry (as early as 20 minutes) bend each paper stick into a “C” shape and hot glue onto the stem starting about an inch down from the top, and ending by slightly overlapping the bottom. Attach paper strips one by one, shaping them as you go. Eventually the paper sticks will completely cover the bottom of the stem, and accumulate several layers to add dimension to the project. Continue until your pumpkin is the size and shape you want.
Cut paper into very thin strips (about ⅛ in.) and cover with Mod Podge. Wind paper around floral wire to fully cover, and allow to dry. Use round nose pliers to bend into tendrils. You can also coil the wire around a pencil, but I find this to make the curls a bit too perfect. I like to keep things a little messy and inconsistent. Glue the tendrils close to the stem, and arrange them as you wish.


If you make it.. Have fun but not forget to wrap your phone and tv remote before beginning… and wear latex gloves :)

A perfect "pair" cake topper

I was browsing the internet looking for a differents cake toppers (for a very special bride) and I found this... Aren't these ridiculously cute?? I just love it

Cute DIY Mini Cookie Cutters {More ideas than time}

I found these great a idea a tutorial to DIY  cookie cutters. Great if you want to do your own shapes or if you have a picky eater and have to do wonders for your little ones

Here are the supplies needed to make your own cookie cutters.


  1. Soda can
  2. Scissors
  3. Super glue or tape (I used super glue. I'm not really sure if it is safe but I figured it would not actually be touching the food)

Before starting you need to rinse the can out and let it dry. Once your can is dry cut off the top and bottom of your can then cut a slit from top to bottom so that you have one large tin sheet. Cut off any sharp edges and then start cutting the can into 1/2 inch strips.

Cutting the can lengthwise will make larger cookie cutters, while cutting them from top to bottom will make smaller ones. I cut mine lengthwise but then decided these were too large and cut each strip in half. 
Once you have all of your strips start bending them into shapes and glue or tape the ends together.

Yay… your very own mini cookie cutters. Really neat idea… You can see the whole tutorial here   

Dr Seuss Baby Shower


I had the privilege of hosting a baby shower for my cousin, Patricia, last June. She and her husband Massimiliano are so excited about baby Alessandro, so I went searching online for some inspiration and found some amazing ideas.
The color scheme for the shower was red and teal so I got to work on collecting all sorts of goodies to decorate. I found  paper lanterns, feather boas, flowers, ribbon, you name it. I even found a "Cat in the Hat" hat!
I set up a little "photo booth" area at the shower that I stocked with some props a Hat and a frame.

The food … let's not forget about the food… I made all the food with some help of my husband… We did a crostini bar, wraps, cucumber surprises, assorted cheeses, empanadas and some delicious shish kabob.


Now for desserts we did some yummy madeleines, cake pops, cupcakes and cotton candy and designed candy apples .. Everyone was raving about it!!
It was so much fun giving this baby shower for Patty and Max. 

Golfeado's Recipe

Golfeados are Venezuelan sweet rolls somewhat similar to cinnamon rolls but they have two key ingredients that are both simple and delicious papelón and white cheese (white salty cheese called: queso llanero).... Both are rolled up inside and anise-flavored sweet roll dough, drizzled with syrup made from the papelon and sprinkled with more cheese... and then baked.... these two flavors combined are just out of the moon... By the way, the best way to eat "Golfeados" are when they are hot... just from the oven...


This is the recipe:


Ingredients:
Dough
250 grams sugar
1 liter of water
12 grams of salt
200 grams of unsalted margarine
25 grams powder milk
2 eggs
1 teaspoon vanilla
1/2 tablespoon cinnamon
25 grams anise seeds
1 kg all purpose flour
1 tablespoon instant yeast


Filling:
500 grams grated papelon
40 grams anise seeds
600 grams grated white cheese


Glaze:
250 grams papelon
1/2 cup of water


Directions
In a small bowl dissolve yeast in warm water and set aside. In a large bowl, mix all the other ingredients and mix until smooth. Add yeast mixture. Mix in until dough is easy to handle. Place in well greased bowl, cover and let rise for 1 to 1 1/2 hours.
When doubled in size, punch down dough. Roll out on a floured surface into a rectangle. Mix all the fillings ingredients and sprinkle over the dough. 
Role up dough and pinch edge together to seal. 
Cut into 12 to 15 slices and place the golfeados in a well greased pan. 
Bake for about 30 minutes or until nicely browned.
Add the glaze 


Enjoy with a piece of a popular venezuelan cheese.. "queso de mano"....


This is simple out of this world!!! 


A Crazy Black and White Anniversary Party

I was honored to help style a 11th anniversary party!  The party was last Thursday July, 7th.

The Company celebrating their  11 years of excellency are my friends since I was a child.  They are very special people to me.  My friend,  contacted me a few weeks before the party to get some ideas.  She suggested  black and white theme party, and I knew damask was perfect for this theme.  She wanted to include bright turquoise.  I put some ideas together but I wanted also this to be classic and elegant party... Here are some pictures for this Crazy Black and White Party....         


Blue drinks!!!